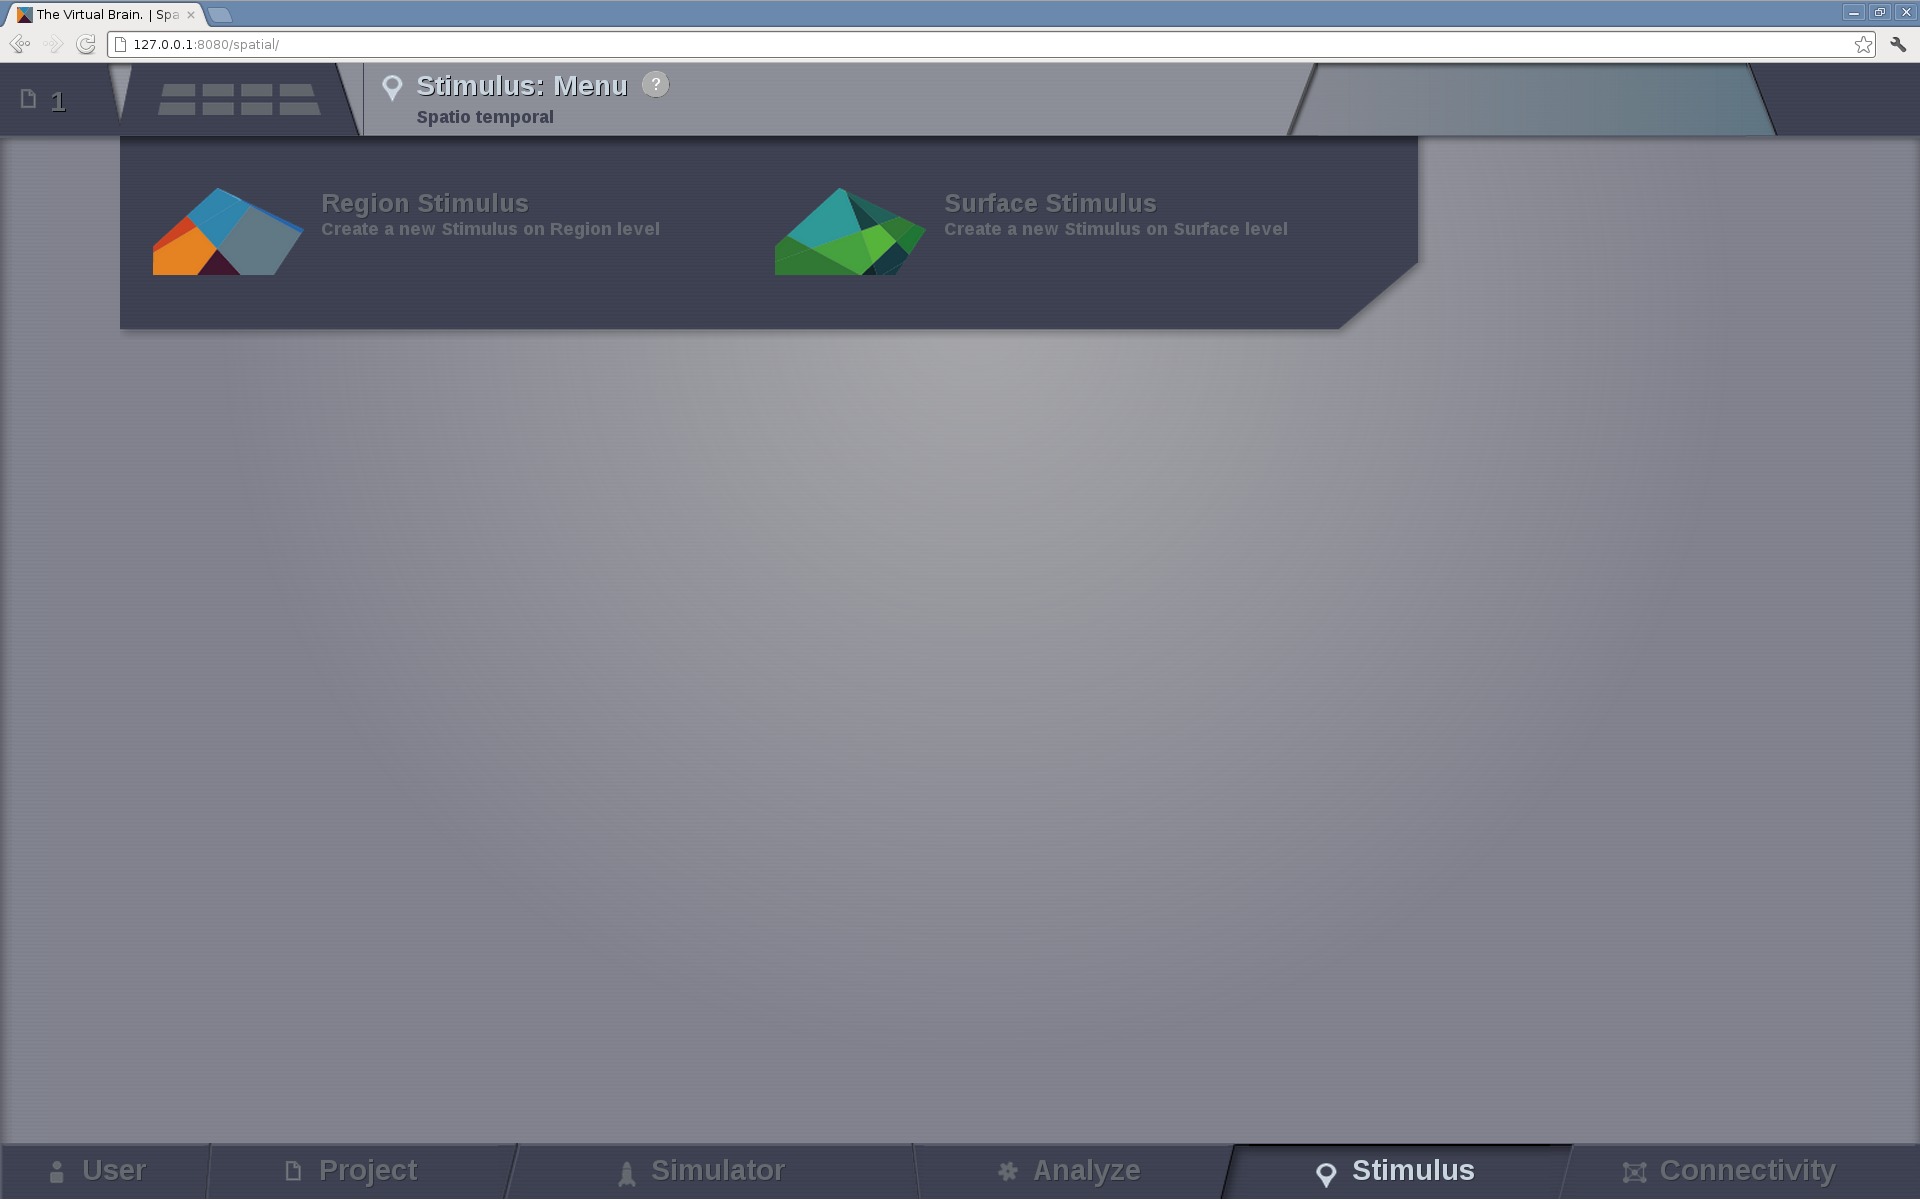
On this page we can define a stimulus temporal profile for the connectivity nodes.
On the left column, we have configurable fields that allows us to:
load a preexisting Region Stimulus entity,
enter the name for a new entity and
select the associated Connectivity matrix that will be used to create a stimulus pattern.
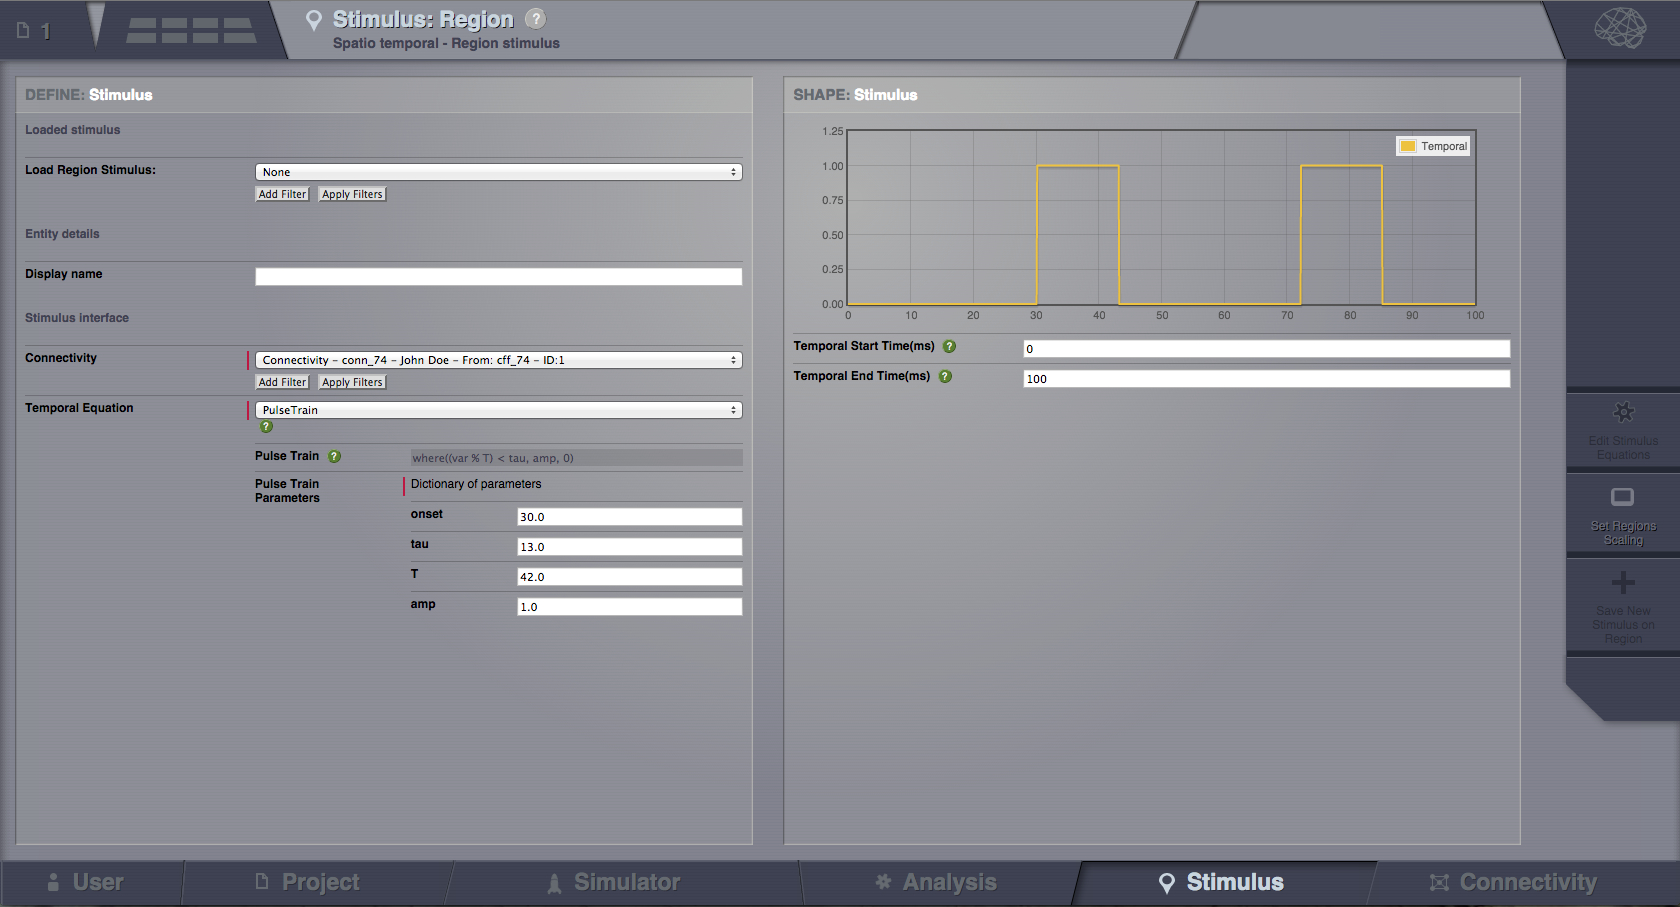
Most importantly, we can select the Temporal Equation that defines the profile and play with its parameters.
On the right column, the stimulus temporal profile is presented, with constant refresh,
as the user changes the Temporal Equation parameters on the left.
From the action bar in the most right side you can go to the next step in configuration: Set Region Scaling.
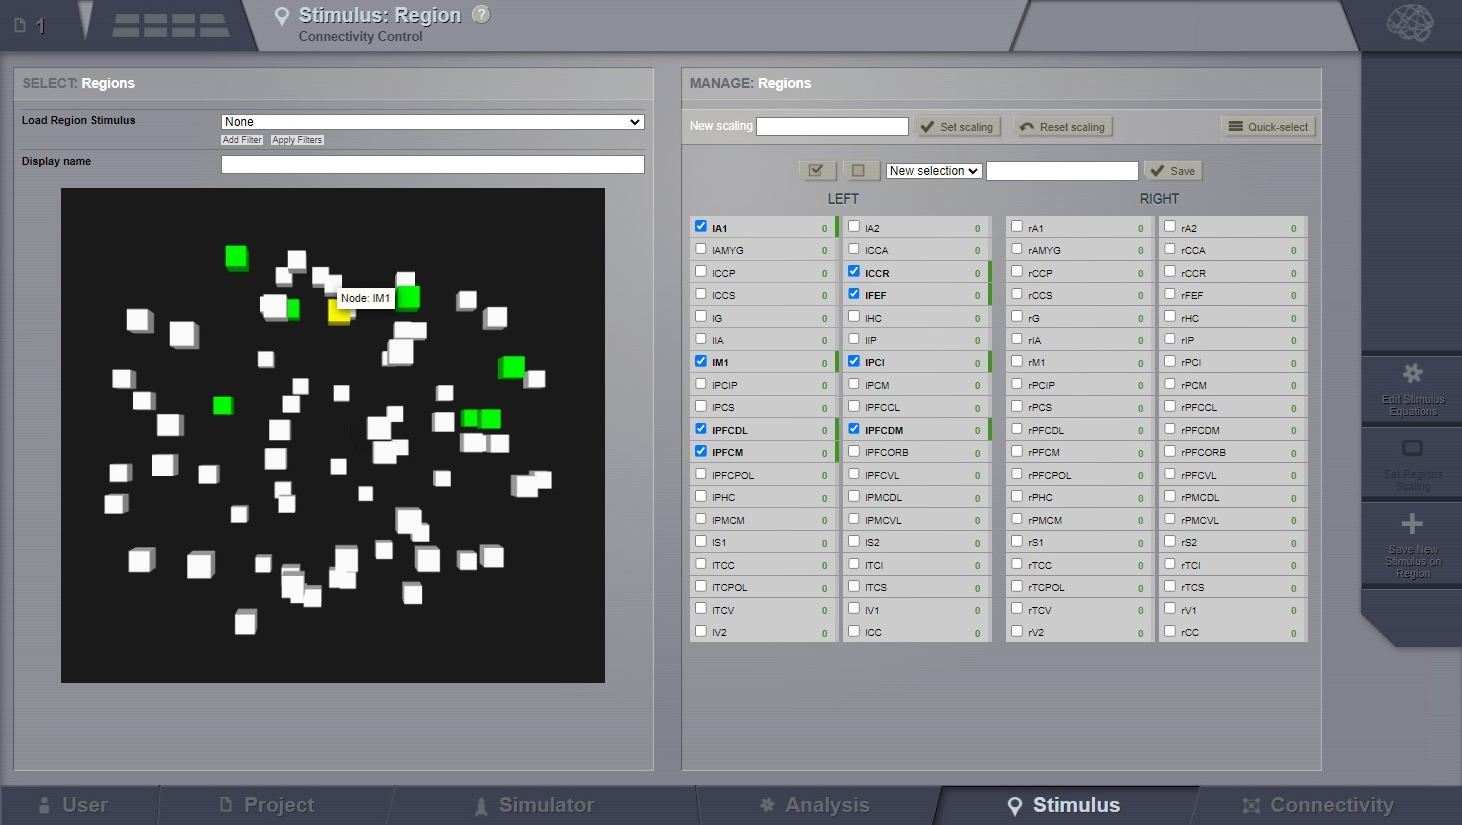
Set Region Scaling page (step 2) where you can:
select the nodes to which the temporal stimulus will be applied and
set the scaling value (stimulus strength) for each of the nodes independently.
Preview for node selection in Stimulus on region level
Click on Save New Stimulus Region button to create the new stimulus entity,
but before that, do not forget to write a name for the new entity in the left column
(field Display name).
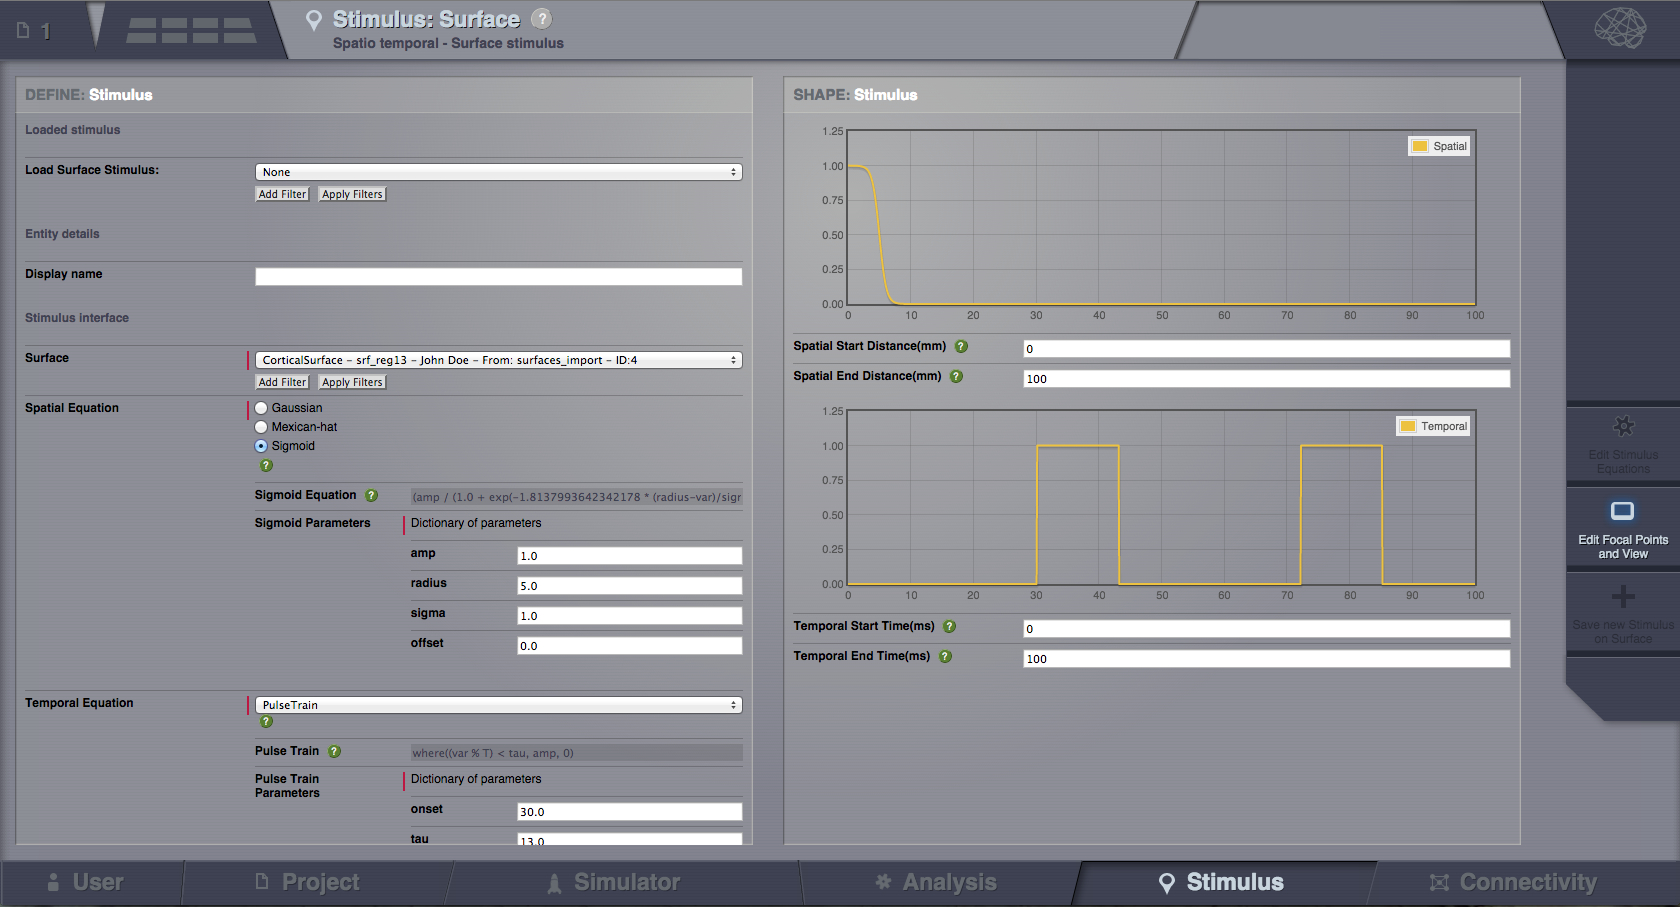
select the Spatial Equation that describes the spatial spread of the stimulus and set its parameters.
select the Temporal Equation and set its parameters.
On the right column, the stimulus temporal and spatial profiles are presented, with constant refresh,
as the user changes the equation parameters on the left.
From the action bar in the right side you have access to:
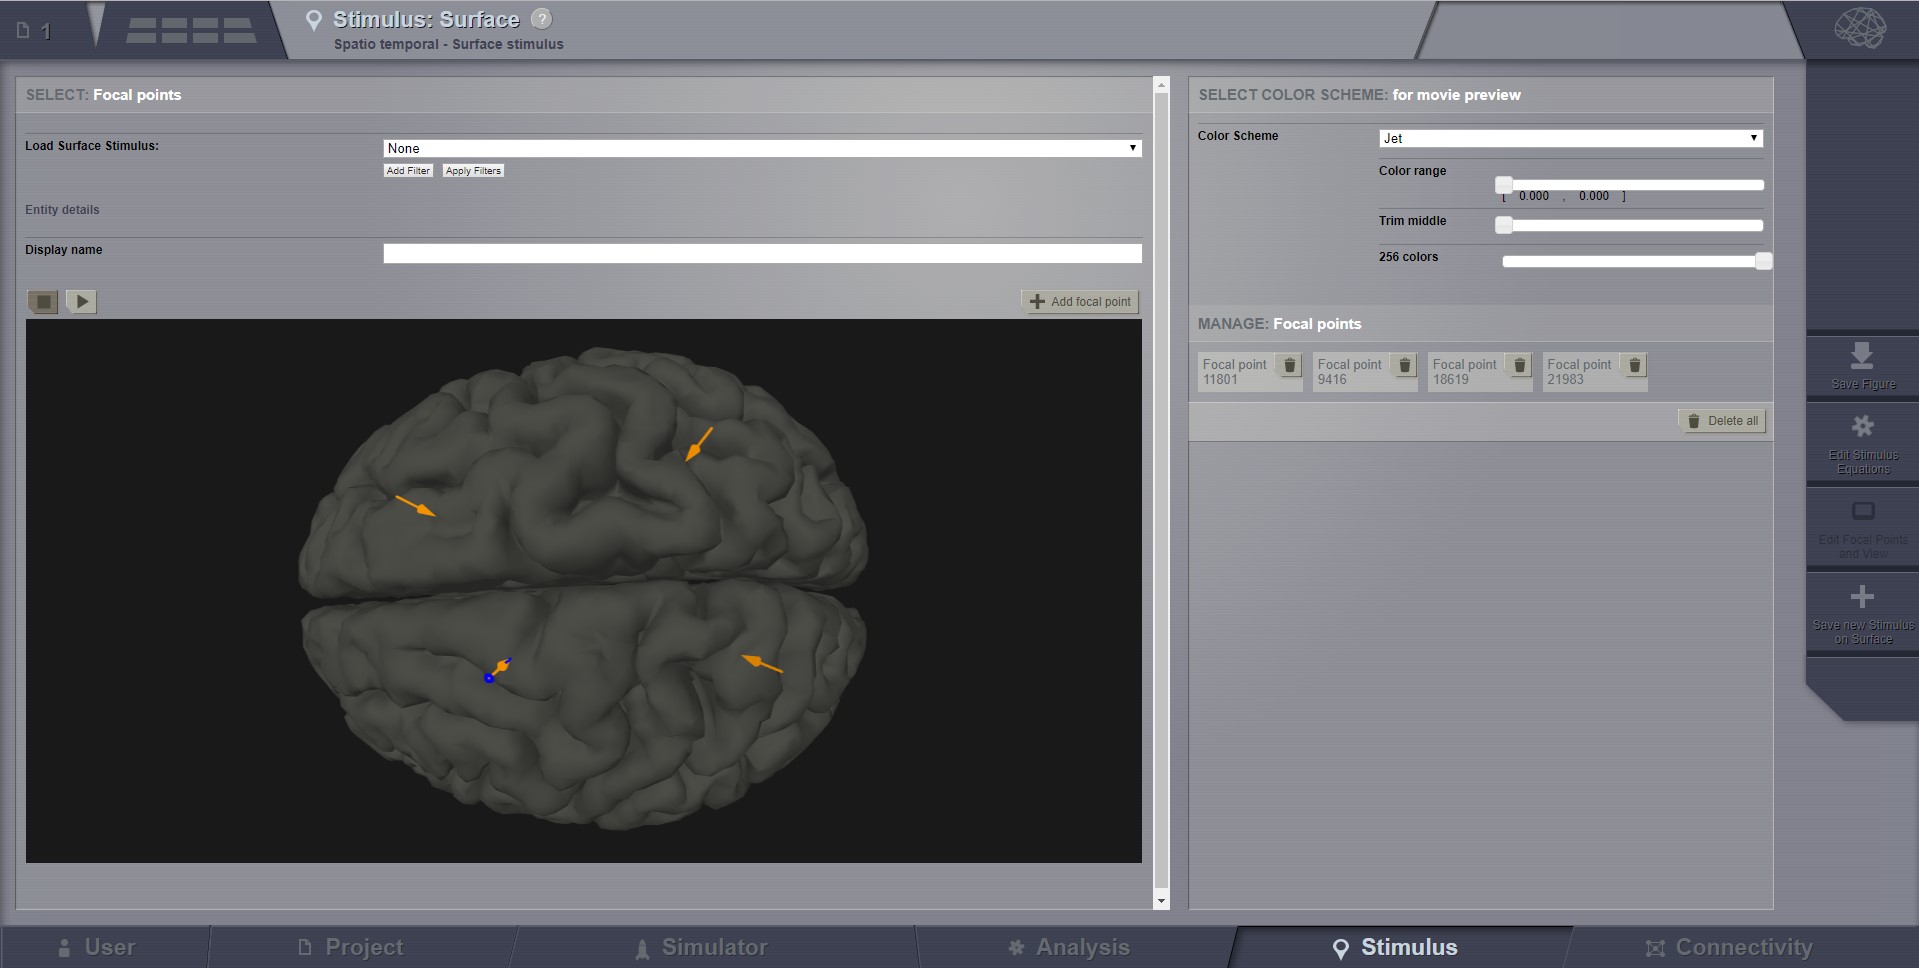
Edit Focal Points and View page (step 2) where you are able to select the spatial focal points:
click on the surface, a pin will point you the selected vertex;
click on Add Focal Point button to mark this vertex, an orange arrow will mark the added point;
repeat for each focal point you want added.
Preview for selecting the focal points of a Surface Level Stimulus
On the right column you will have the list of the selected focal points. You can
delete them independently.
Hint
The spatial pattern will be centered around the focal points.
Finally, click on Save New Stimulus Surface button to create the
new stimulus entity; but do not forget to give it a meaningful name
(left column Display name input field).
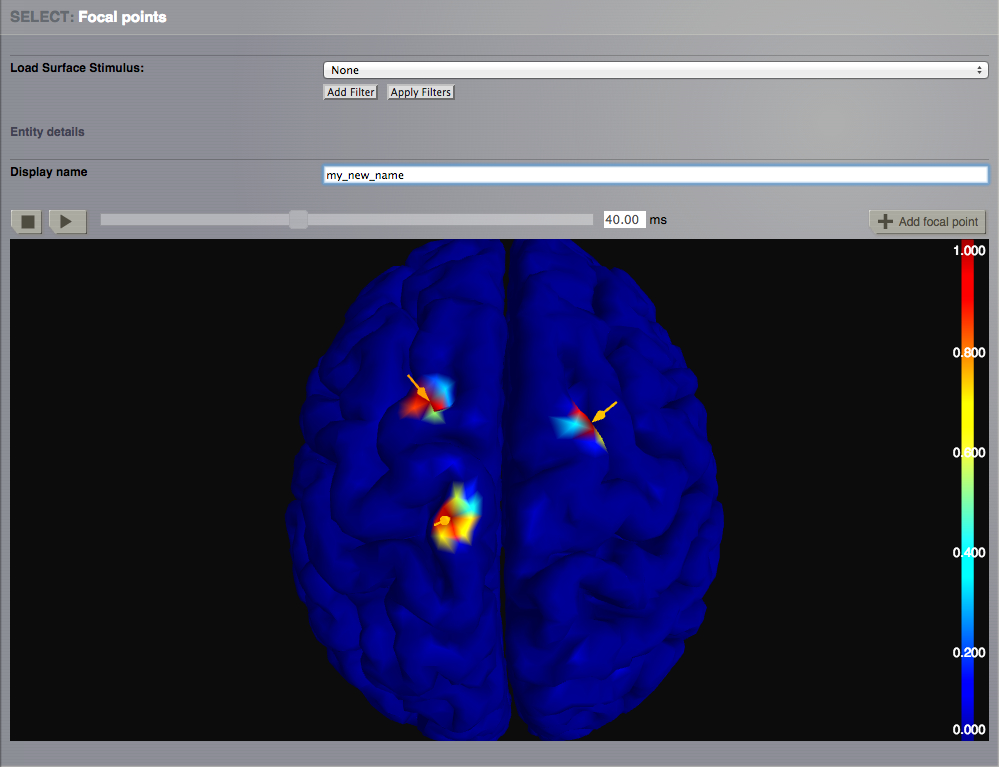
Regardless if the current Stimulus entity is stored or not yet,
you can visualize the evolution of the spatio-temporal pattern.
Click on the button to launch the animation.